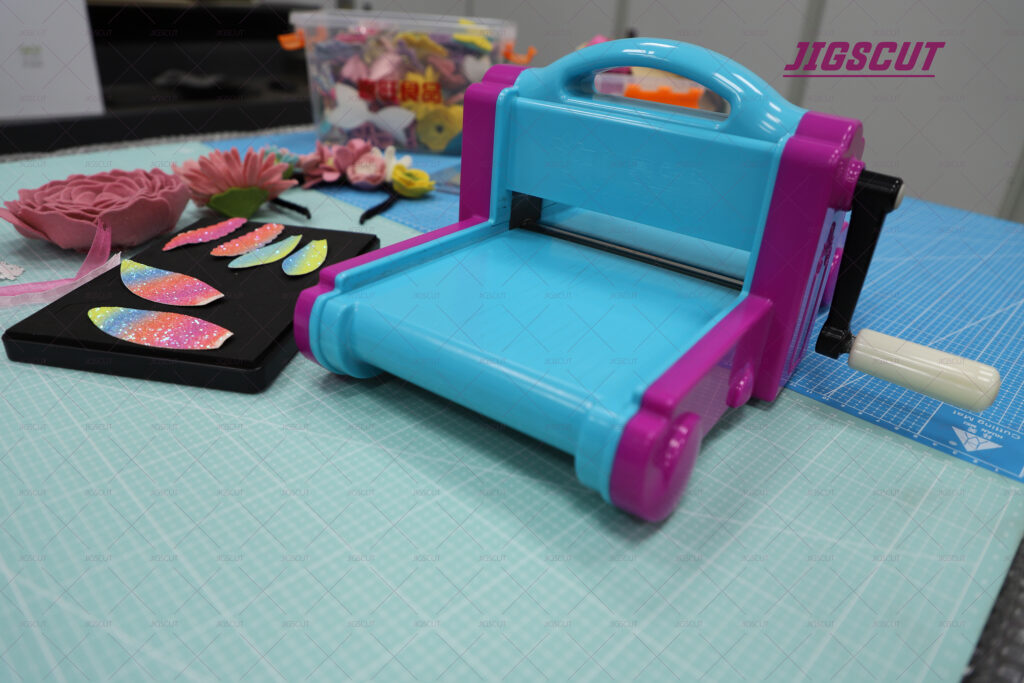
In die cutting, a die is a template with sharp edges that is pressed by a machine to create a uniform shape on a thin material such as paper or fabric. Commercial die-cutting machines can be used for metal and other hard objects, but you can think of a home machine as a cookie cutter for crafting. The hand crank machine is easy to use and produces really lovely results for your next craft project.
Using a manual die cutting machine
1. Select the first design to be cut from the mold. Your die-cutting machine either comes with a set of dies, or there are compatible kits sold. No matter what type of material you want to cut, you’ll want to choose your first design from the mold of your choice. You may have several shapes to choose from; when deciding what shape to use, think about what you are making and for whom.
You can choose from flower shapes, hearts, stars, letters, spirals or animal shapes, depending on your stencil kit.
Also consider what materials you have available when designing your project.
2. Sandwich the mold and material between layers of foam. For things that are turned through the machine, follow the layered sandwich pattern. The base that comes with the machine will have a thick layer of rubber or foam. Place the paper or other thin material you want to cut on top, position the mold where you want to cut on the paper, and then lay another thick layer of foam on top.
Different machines may differ slightly. Follow the instructions on your specific machine to make the die-cut sandwiches.
Your machine comes with all the rubber or foam layers needed – you just provide the material you want to cut and select the mold from the range of molds.
3. Turn the crank slowly. Once you’ve assembled your die-cut sandwich, start turning the crank toward the press. A pallet of material will move through the press and a die will cut the paper or other material. If you are using paper, you may hear a cutting sound.
Continue turning the crank until the pallet is all the way through to the other side.
4. Check that the material is completely cut through. Gently lift the top layer of foam to see if your shape is completely attached to the paper or other material. If it does, and you can get the shape out of the rest of the paper, you’ve completed that section and can move on to new cuts based on your project.
If there are areas on your shape that are not completely cut and are still attached to your material, you will need to move it back through the press.
5. If you need to cut the shape again, turn the crank in the other direction. Instead of reassembling the layers of the sandwich, simply place the pieces back into their original positions and start turning the crank in the opposite direction. The press will make a second cut based on the first cut, hopefully keeping all the edges of the shape completely separated from the rest of the material.
You can continue to turn the die cut back and forth through the machine. However, if it takes too many passes to make the final cut, you may be using material that is too thick for your machine.